
Setup
To begin, ticket categories, statuses, and priorities are defined.
Categories
Categories may be created by anyone with administrative privileges. Categories logically group similar issues among tickets and route them internally to the responding group. To setup categories click Manage All Categories link located in Component Title Menu ( ). To submit a new ticket, click
Submit New. To search for tickets, click View Tickets. This button is only visible to authenticated users.
![]()
The view shown below allows you to either create a new category or select an existing one for update. First click the Component Menu and click Manage All Categories. To create a new category, click the “Add New Category” link at the top of the page. To update a category, simply click on the category name. To go back to the previous screen, click Cancel.

The Ticket Category Details view displays the setup information about a category. Category name is mandatory and must be unique (illegal matches prevent saving changes). Categories can be enabled and disabled. To enable the category, check the “Enabled” checkbox. A Ticket may be submitted only under enabled categories. Disabling a category will not delete tickets that were submitted while that category was enabled.
Below the name you can choose a Default Priority and Default Assigned Users so that all new tickets will have these fields prepopulated.
Sub-categories
Sub-categories can be defined in this section. Sub categories can be useful if you want to search for submitted tickets related to a specific area. For example, the IT department might have email, hardware, software, password recovery, and etc to their sub-categories. These fields can be set to be required by checking the checkbox at the end of this section of the setup screen
Additional Fields
This section provides a way to add Email, Phone/ext, and Department fields for submitters to fill out so the ticket recipients will receive contact information along with the ticket. These fields can also be marked as required.
Custom Fields
Additional fields can be added for ticket submitters to fill out. Checking the checkboxes under Enable will allow you to type in the label for that field. These fields can also be marked as required.
Email Notifications
This section captures the emailing preferences for the category. Emails are generated according to the selected specifications. Check the checkboxes to send emails to the corresponding roles at any of the ticket stages. The Send Email Summary will send an email with all open tickets to all parties responsible for those tickets.
Reminders
The section titled Reminders allows configuring ticket Reminder preferences. If configured, Portal reminders will be generated automatically according to the selected specifications.
Assignments and Responsibilities
The Submit Roles section specifies roles permitted to submit tickets under this category. To allow anybody to submit tickets for this category, select the “Anonymous” and “Authenticated” roles. The Resolve Roles section identifies roles with the ability to resolve tickets under this category. Members of these roles will get a Reminder of new tickets when Assigned user is checked. In the Administrator Role section, an administrator role for this category may defined. Administrators will be able to assign tickets under this category to individuals belonging to the Resolve Roles group chosen. Category Administrators also have the ability to delete tickets as well as duplicate or resolve them.
To go back to the previous screen, click Cancel. To save changes, click Apply. To save changes and go back to the previous screen, click Apply & Close.
By going to the Component Menu and selecting Setup, you can determine if you want to show all categories or select specific categories to be displayed for that instant.
An email will be generated to the administrators upon deletion of a ticket. The category administrator and the resolution users can assign due dates and responsible person when submitting a ticket. Email summary can also be configured for each ticket category to notify administrators and resolution users about current tickets.
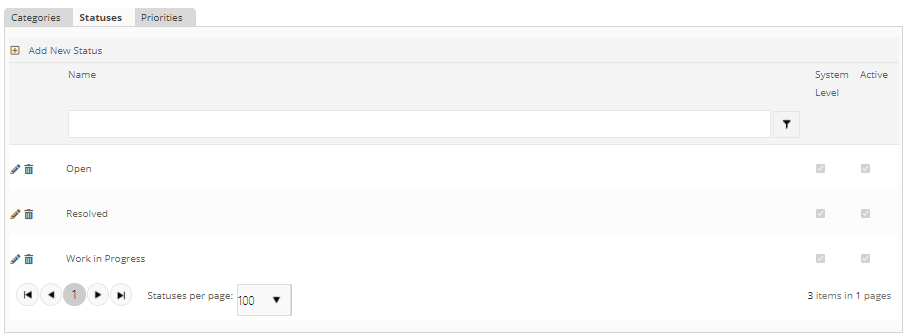
Statuses
Policy Manager includes three ticket statuses by default: Open, Resolved, and Work in Progress. Administrators may create additional statuses by clicking Add New Status and entering the name of the status to be added.
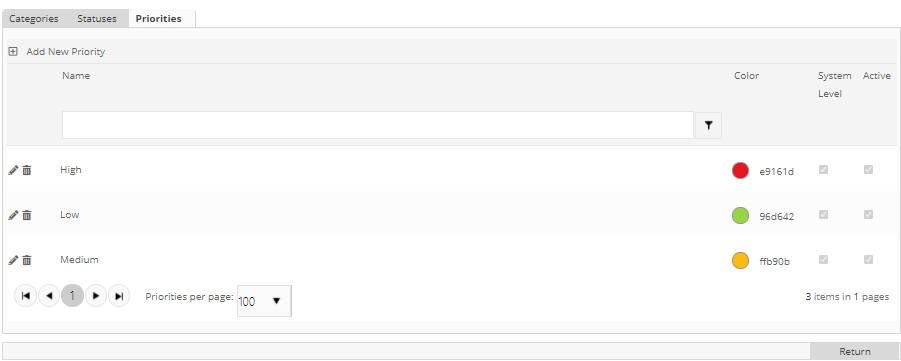
Priorities
Policy Manager includes three ticket priorities by default: High, Medium, and Low. Administrators may create additional priorities by clicking Add New Priority and entering the name of the priority and color code to assign.
← Ticket Tracking ……………………. Submitting Tickets →
Post your comment on this topic.