
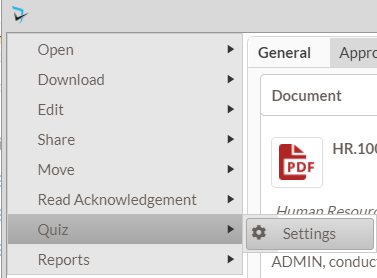
Once a Quiz Category is created, quiz designs can be created to be used on policies. To start the design of a quiz, the user must be logged in. The Quiz designer will navigate to particular policy for which a quiz will be created, open the document menu ( ) for the policy, select Quiz, then *Settings.
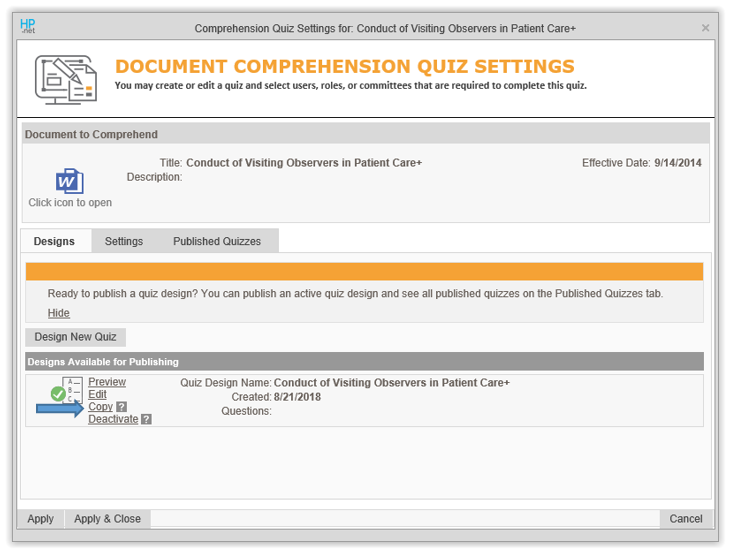
The Document Comprehension Quiz Settings screen is displayed. The user will click the Design New Quiz button to create the quiz. The Quiz Design screen displays with the General Info tab for the quiz.
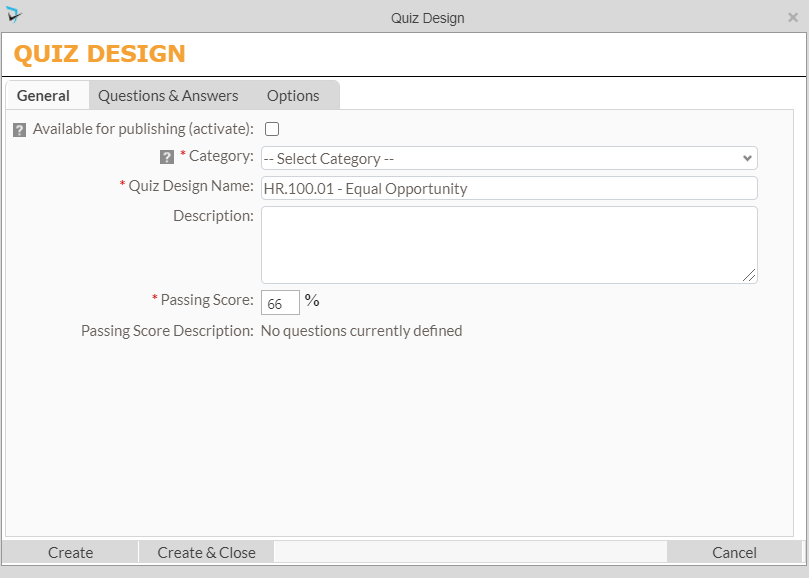
- Available for Publishing – This checkbox should stay unchecked until you are ready to publish this design for people to take. This will prevent someone from publishing the quiz design before it is ready.
- Category – Select the Quiz Category that applies to this design. This will determine who can design, view results and choose the default audience for this quiz when publishing. Clicking on the eye icon will allow you to see the quiz role assignments for the chosen Quiz Category.
- Quiz Design Name – This field will be pre-populated with the name of the policy. This can be changed if, for example, this is a quiz for a particular version of the policy.
- Description – This field is optional but can include supporting information about this quiz.
- Passing Score – This will determine the minimum score that the system will accept as a “passing” grade. This is in %.
- Passing Score Description – As questions are populated, this will show how many questions need to be answered correctly for a passing grade.
The Questions & Answers tab is where the Quiz Designer will create questions for the quiz
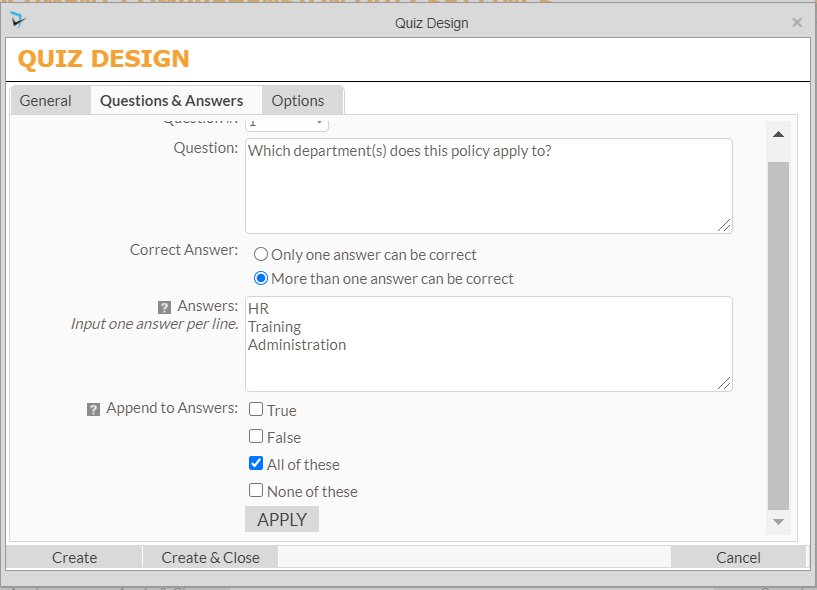 .
.
- Question# – This will be what order the question will appear in. For defining the first question, it will only have the option to select “1”.
- Question – The question that will appear on the quiz.
- Correct Answer – Quiz Designers have the option to have only one answer can be correct or more than one answer can be correct. If there can only be one answer, the quiz taker will click on a radio button to chose their answer. If more than one answer can be correct, the quiz taker would have checkboxes to check as many answers as they need.
- Answers – You can give as many answers to the question as needed by entering each answer on its own line.
- Append to Answer – This will give the Quiz Designer the ability to add additional common answers such as True, False, All of These, or None of These. If selecting True and False, the Answers section can be skipped.
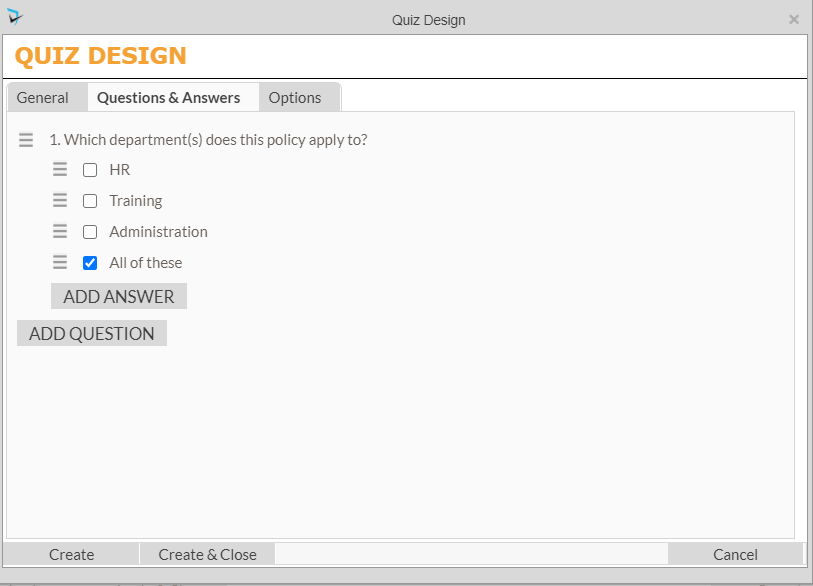
The user will click Apply to save the question. The popup will refresh, displaying the new question. Next, the user will select the radio buttons or check boxes for the correct answer(s). Each question will have a menu ( ) with options to Edit, Delete, Add Question Before, Add Question After, or Add Answer. Each answer will also have a menu () with options to Mark as Correct, Edit, Delete, Add Answer Before, Add Answer After, and various sorting options.
To continue to add questions, the user will click the Add Question button.
The Options tab allows for choosing to randomize the order of the questions and/or the answers to each question. This will help to deter cheating on these quizzes.
Select Create & Close once finished with the design.
After the quiz design is saved, the Change Log tab will appear, which lists information about changes made to the quiz design. The log will record when the change was made, by whom, they type of change, and exactly what was changed.
You are now ready to publish your design so that users can take the quiz.
Post your comment on this topic.