
Inline Editing
Inline editing enables Lead Authors and Co-Authors to save their edited Word drafts directly in the portal, without having to upload or replace the document. Note: Documents must be in .docx format to use this feature.
Plug-In Installation
In order to edit and save Word documents directly on your portal, it is first necessary to install the inline editing plug-in. This installation is only necessary the first time you decide to utilize the inline editing feature. For more information on installing the plug-in, refer to the Inline Editing section of this manual. Once installed on the local computer, the authors are ready to begin the editing process.
Editing Documents
Authors will access the Draft screen via the Document Menu (  ) or the Reminders screen.
Document Menu
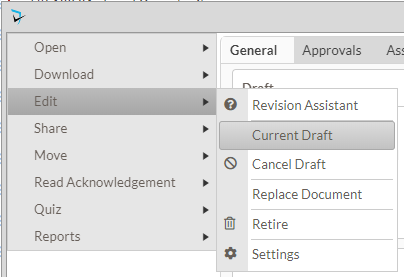
Users will click the edit option on the document menu, then Current Draft to open the Draft screen.
Reminders Screen
Users will click Show Details under the Documents in Authoring section of the Reminders screen, then click the name of the appropriate document.

Draft Screen
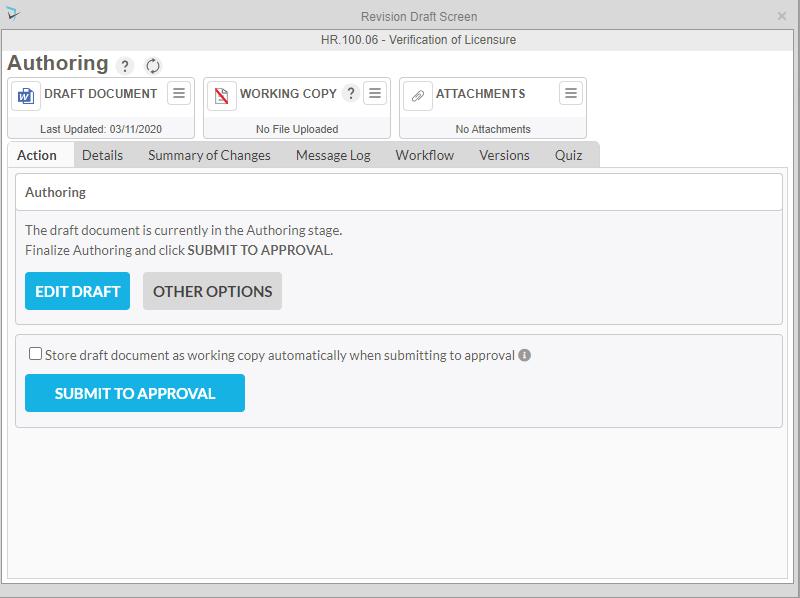
Authors will be taken to the draft screen where they can then chose Edit Draft to make changes to the document draft. For more information on the other options available to Authors, please refer to the Draft Screen section of this manual.
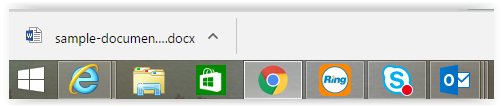
The document will be downloaded and a notification tab in the bottom left corner of the browser shows the document name. Users will click this notification tab to open the document.
Users can make any necessary revisions to the document by clicking the Enable Editing button in Word. Word will display a HospitalPortal.net tab in the Word ribbon at the top.
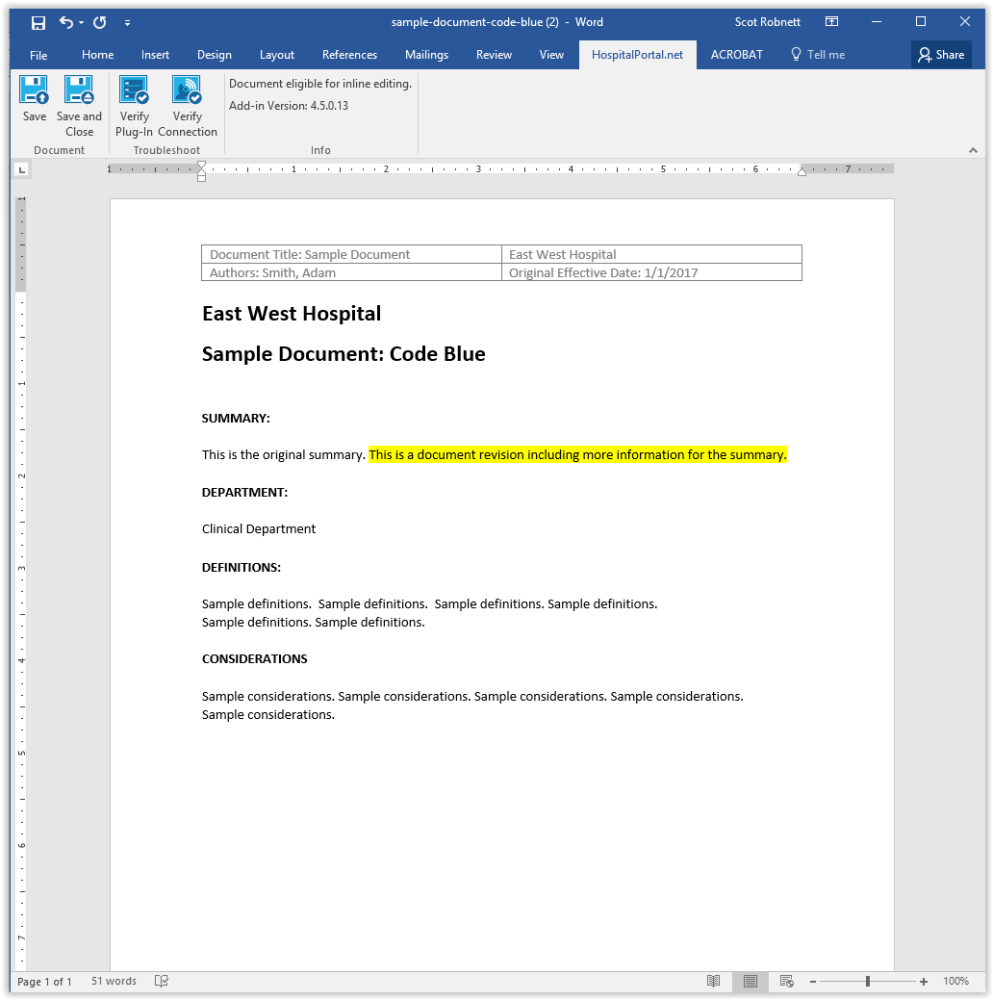
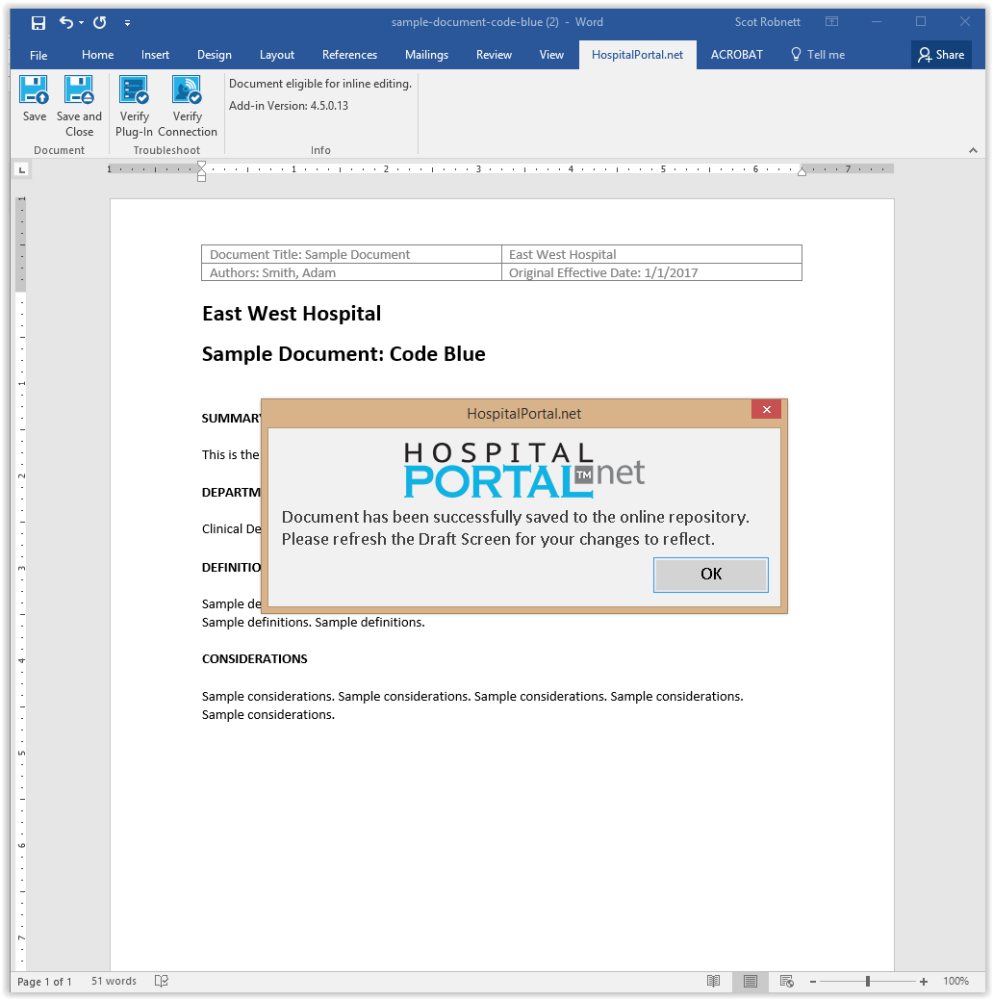
On the HospitalPortal.net tab, four blue icons and an information panel appear just above the document. The four icons, from left to right, are: Save, Save and Close, Verify Plugin, and Verify Connection.
- Verify Plugin ensures that the plugin installed is up-to-date. A pop-up window will display that states the plugin is current.
- Verify Connection ensures that the document is connected. A pop-up window will display that states the connection to the inline editing service is valid.
- Save will save the document to the portal and allow the user to make additional edits.
- Save and Close will save the document to the portal and close the Word application.
When either save option is selected, a pop-up message will display with the following confirmation message: Document has been successfully saved to the online repository. Please refresh the draft screen for your changes to reflect. Users may also close the Word application and choose if they wish to save the document to the portal, to their computer, or exit without saving.
Post your comment on this topic.